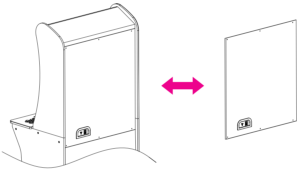
Important: Please read all the instructions carefully before you proceed with installation. There are 2 manufacturers of the ALU cabinets and they have different screw patterns and manufacturing styles. The HongFujin Precision cabinets have a ton of glue on many of the connectors and it may be difficult to remove without tools. You may also need help at certain points to avoid damage to your cabinet.
- Disconnect all cables connected to the back of the cabinet.
- Remove the 6 screws from the back panel.

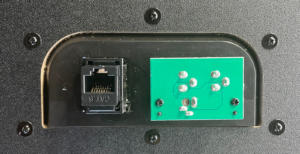
Carefully remove the internal power connectors and the network cable from the original back plate.
- Remove the 6 screws around the back plate and set them aside. You will need these to install the replacement back plate.

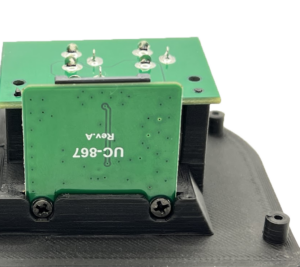
- Remove the 2 screws from the power distribution PCB and set them aside. You will need these to install the PCB onto the replacement back plate.
- Carefully remove the power distribution PCB and install it onto the replacement back plate with the original screws.

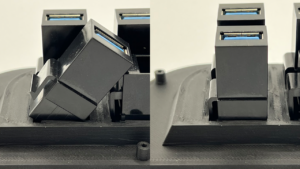
- Insert the supplied keystone jacks into the replacement back plate. To install, insert the jack at an angle and rotate it into the slot. The jack will click into place. Repeat this process for each keystone.

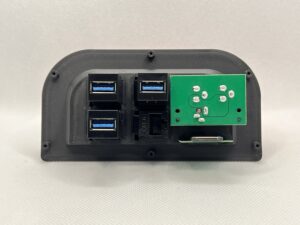
- (Optional) If you purchased the SD Card extender, insert it into the back plate and secure it with the 2 included screws.

- Insert the replacement plate into the back panel and secure it with the 6 screws removed in step 6.
Important: The back plate is a 3D printed part. Do not over-tighten the screws as you may break it! - Reconnect the power cables, network cable, and any USB cables to the back plate.
- Reinstall the back panel using the 6 screws.